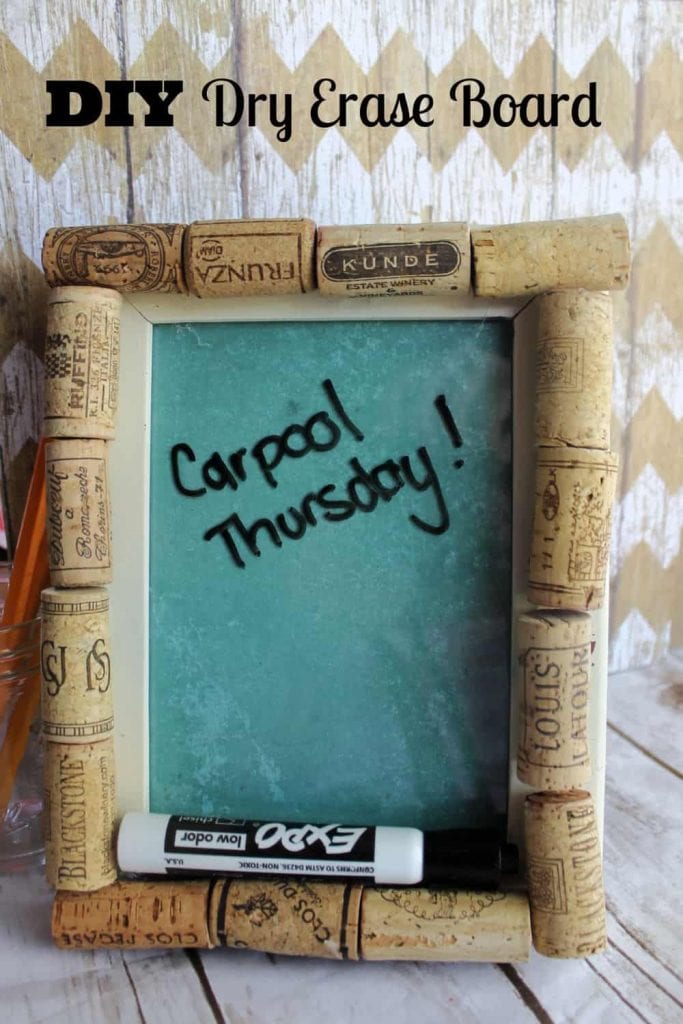
This fun little DIY dry erase board tutorial is a simple and inexpensive project to make to keep or gift to someone else. I had all supplies on hand, and you are likely to have them in your craft stash as well. I had a 5×7 frame on hand that I used because I wanted a desktop size memo board, however, you could use and 8×10 or even an 11×17 frame to create a large homemade wall memo board. This homemade dry erase board is finished off with a cork frame for looks and to hold any extra memos. It is the perfect little DIY to do board to keep you organized.
I didn’t drink all the wine for this DIY dry erase board picture frame by myself. I picked up a jar of old corks at a yard sale awhile back for just $1! If you are not a wine drinker, but want to give this DIY white board project a try you can pick up corks on Amazon for a great deal for all your cork projects.
Cork Framed DIY Glass Dry Erase Board For Memos
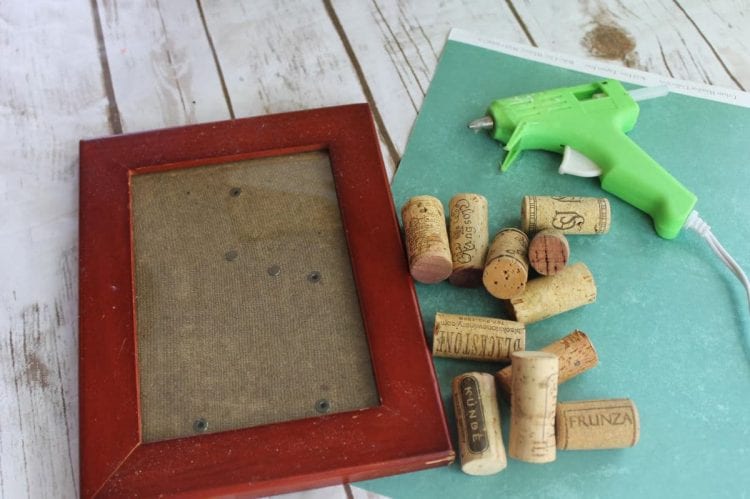
Supplies Needed For DIY Dry Erase Boards:
- Wine corks
- wooden picture frame with a flat glass surface
- spray paint- any color (so easy to coordinate colors to any decor)
- scrapbook paper or wrapping paper
- glue gun/glue sticks
- Sand paper
- dry erase markers also known as whiteboard markers
If you don’t have a hot glue gun already, you may want to get this amazing cordless version I found on Amazon- here is my affiliate link.
Spray paint can also be purchased at Amazon or your local hardware store or Home Depot.
Are you ready to make your own dry erase board in a few easy steps? Let’s get started!
How To Make A Dry Erase Board With An Old Picture Frame
We begin this DIY dry erase board picture frame by lightly sanding frame for best results. This will rough up the finish which will help paint and glue hold better. That means this DIY project that will last longer.
Wipe all dust off thoroughly with a damp cloth.
Flip over to the back of the frame and remove glass and backing from frame, set aside.
To spray paint your frame you can either lay it on newspaper outdoors or the way I like to do it is to hang from a branch, that way I can access all angles and it dries well hanging also.
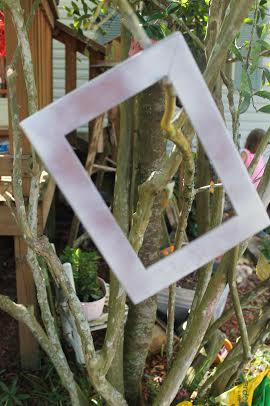
Spray a light tack coat, allow to dry for 5 minutes, repeat with 1 to 2 more coats.
Dry for 3-4 hours before continuing.
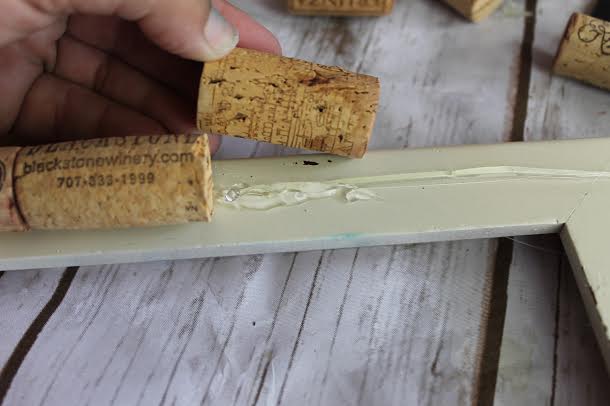
Once frame has completely dried attach corks with a generous amount of hot glue- not so much that it is oozing on your frame but to create a good bond so that they do not fall off with some handling- do this all the way around.
Trace the glass from your frame onto a pretty solid color of scrapbook or wrapping paper and cut out. You could use white paper for making your own own whiteboard. I used a light chalkboard green paper to make my marker board.

Replace glass in frame, insert paper and finally fasten in backing to frame.
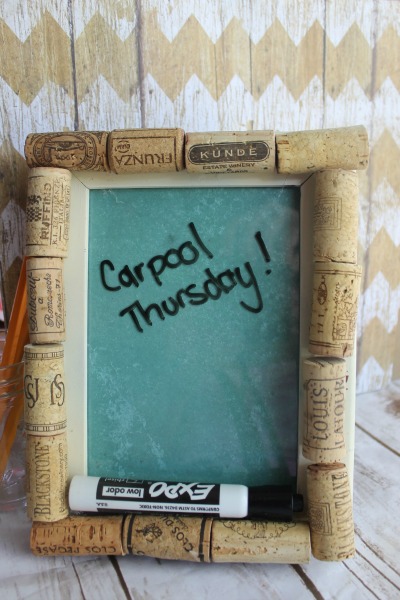
Your cork memo DIY dry erase boards are ready to go! You can make a to-do list in the blank space. Great for the home office or to hang at your command center. This simple project can be the perfect solution for keeping track of important events on your daily schedule.
I find that the dry erase marker erases easily with a bit of paper towel or a clan rag if you do so within a day or two or writing. However, it is harder to wipe clean, the longer you leave it. You may like this recipe for DIY dry erase board cleaner if you tend to let your notes sit.
Homemade Dry Erase Board Conclusion
This is a pretty easy and pretty functional DIY to do board. It is perfect for writing yourself reminder notes and you can pin on any little notices you may have as well. I hope you enjoy this DIY dry erase boards project. It is such a great way to reuse old corks and old frames and upcycle them to give them new life. Let me know how yours turns out and tweet me a picture @familyfocusblog!
Happy crafting!
Related Posts:
Hampton says
This nice one i really apricating your work thanks for useful blog.❤️